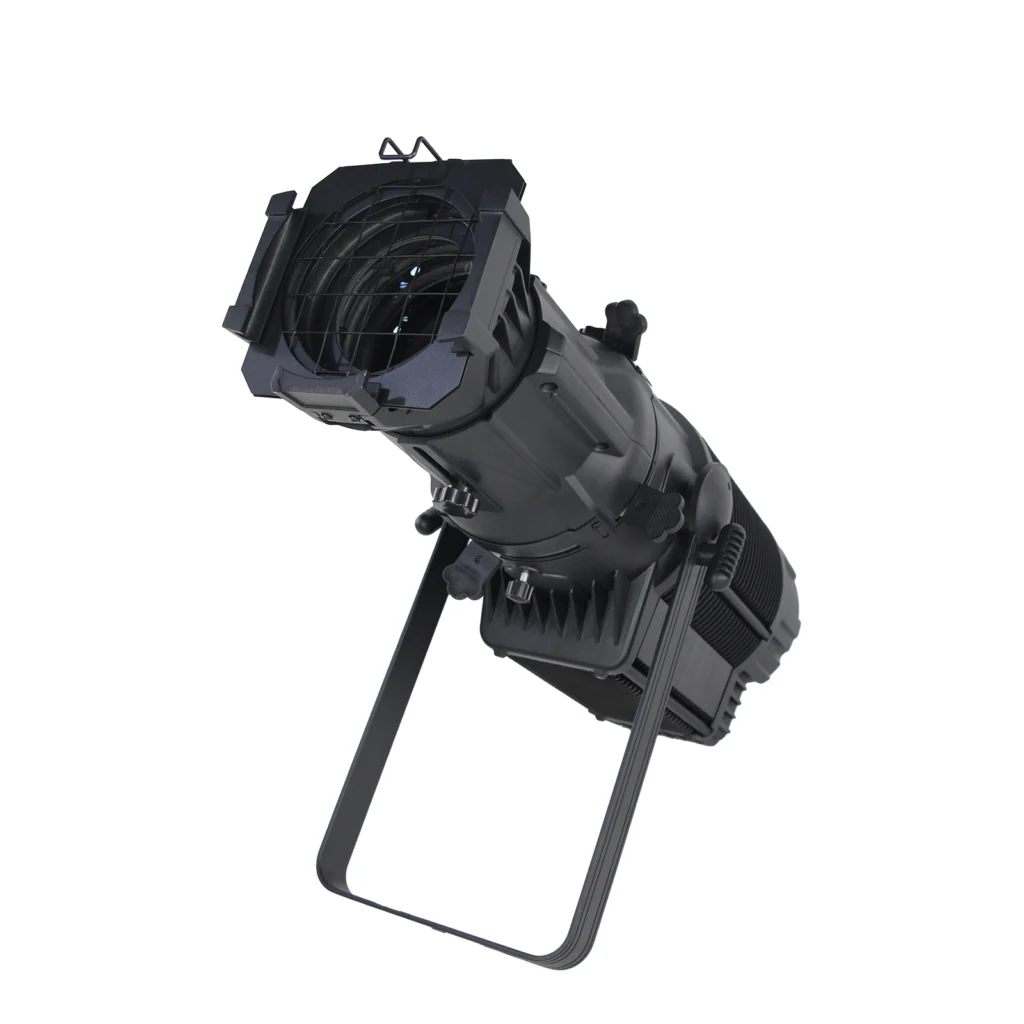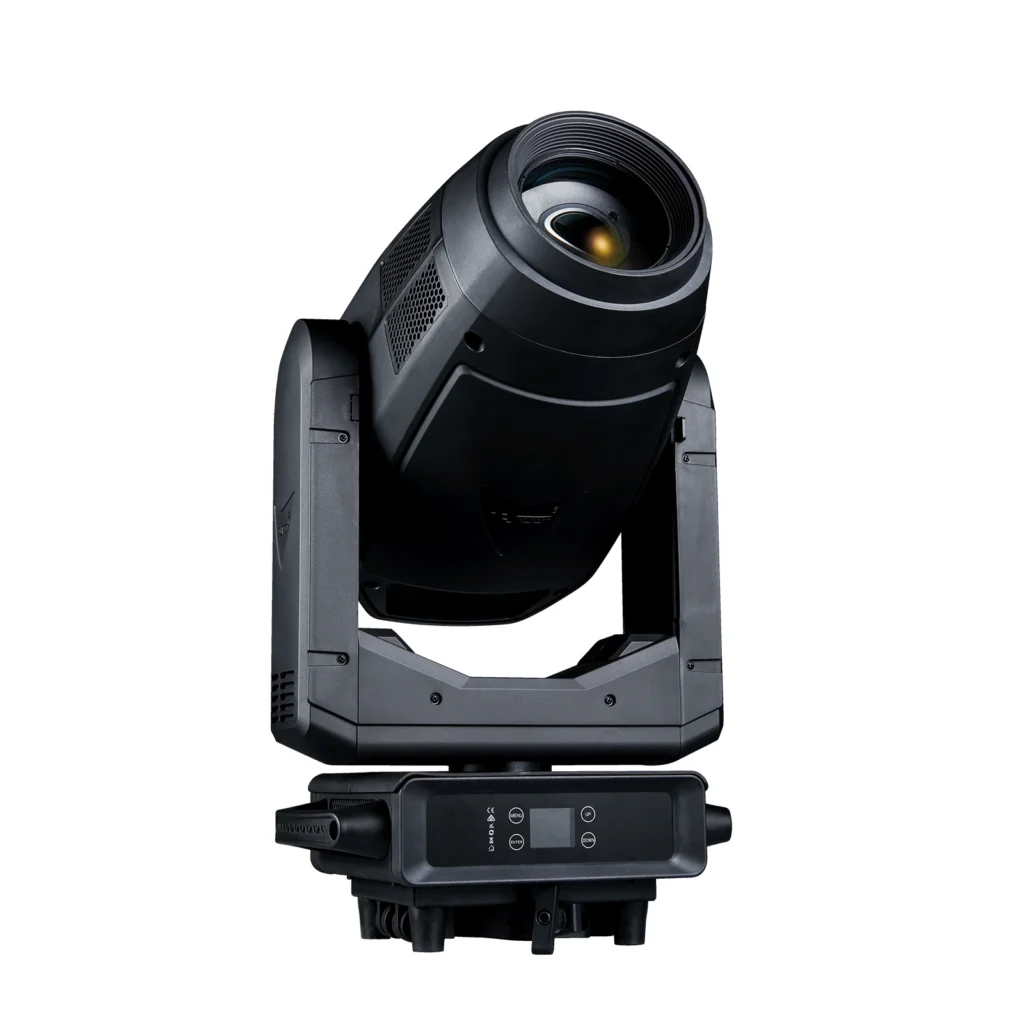
Nothing kills a live show faster than uncooperative stage lights right before curtain time. Follow this easy 5-step checklist to diagnose issues fast and save your performance.
Step 1: Double-Check Power
Most light control problems start with power issues.
- Flip the fixture's power switch fully on.
- Check power cords and plugs for loose connections or wear and tear.
- Test the wall outlet with another device to rule out tripped breakers.
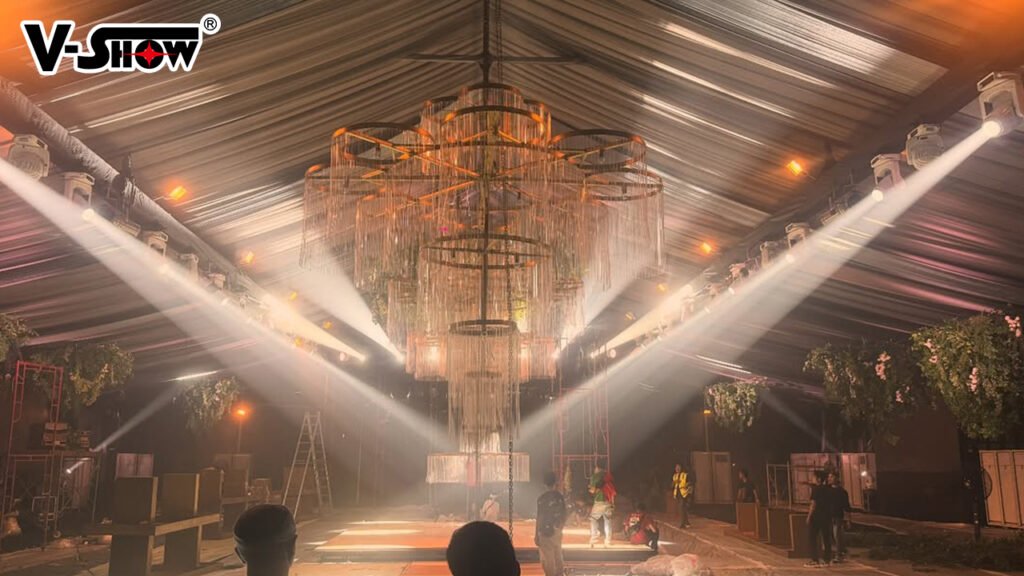
Step 2: Inspect DMX Signal Cables
Bad DMX lines cause 9 out of 10 control failures.
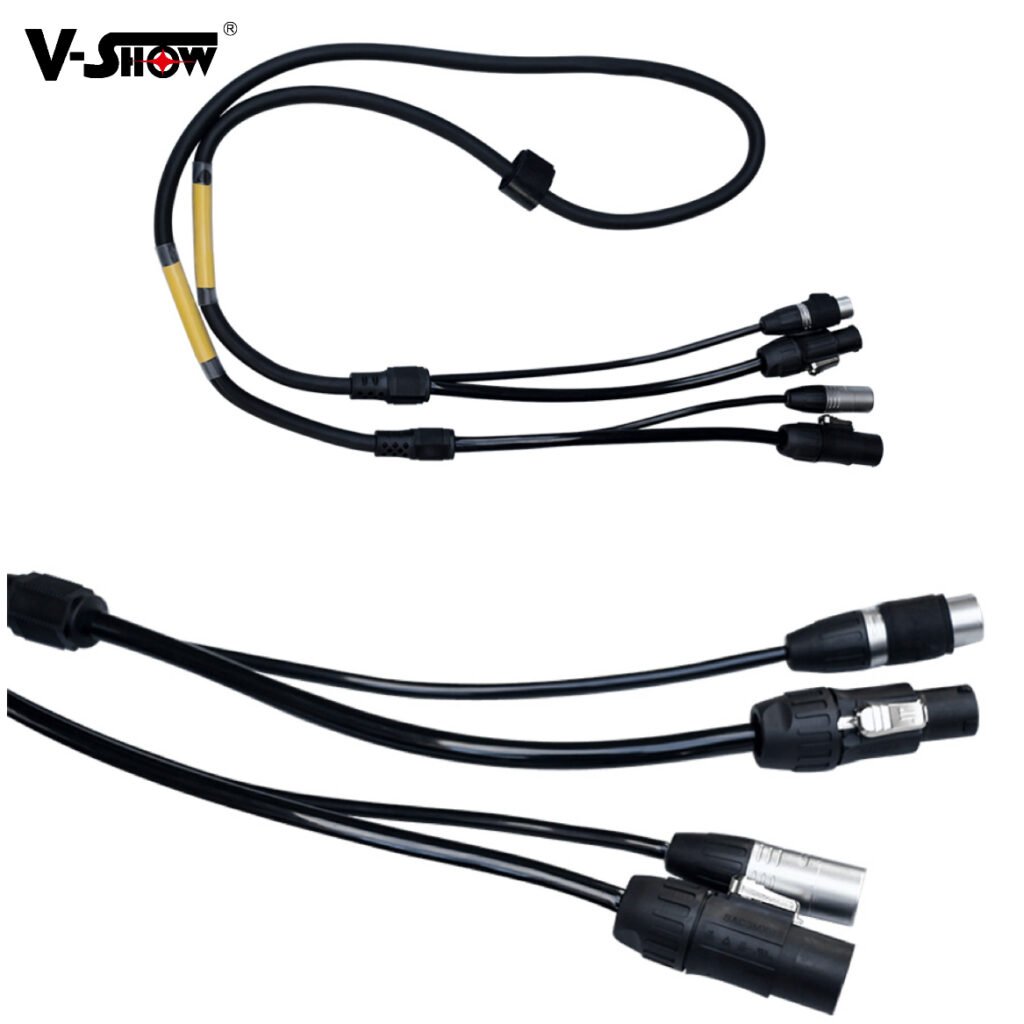
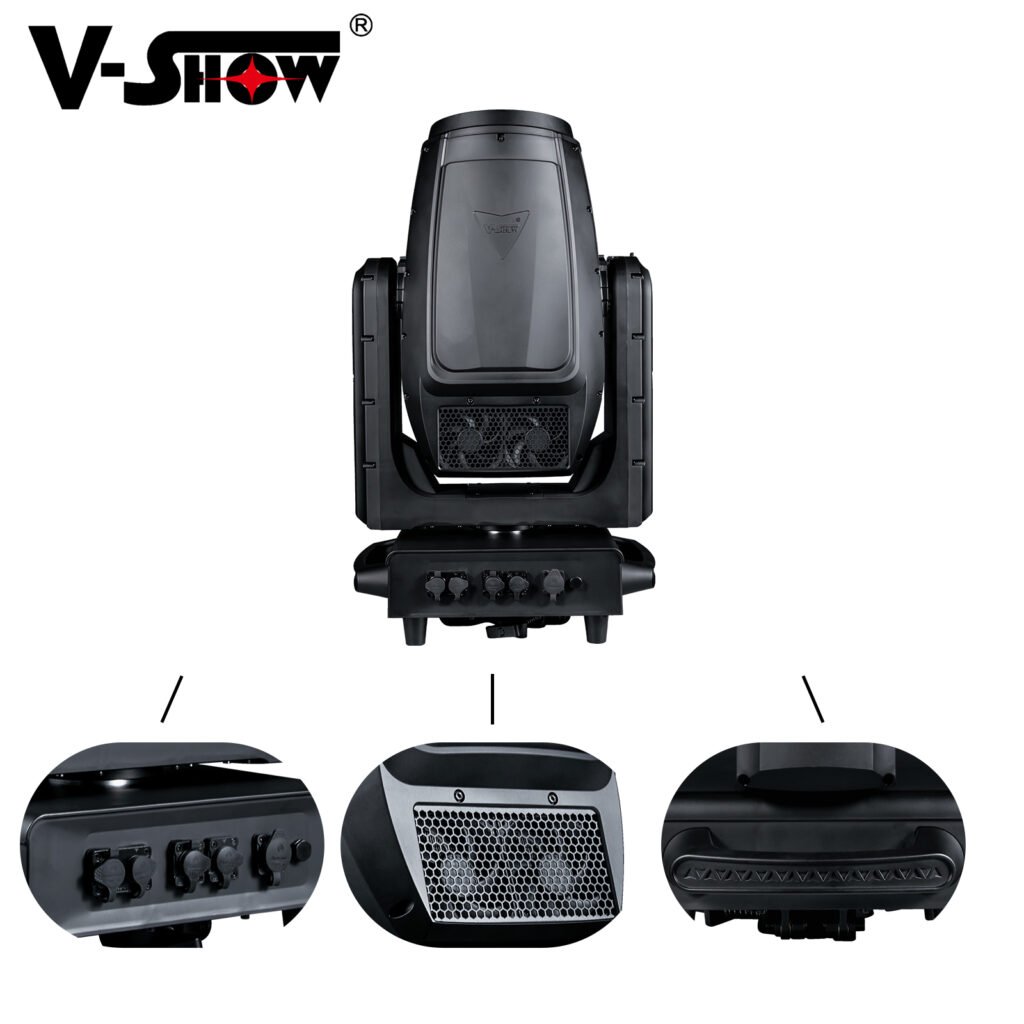
- Unplug and reinsert both ends of the XLR cable tightly.
- Look for bent or corroded pins on the connectors.
- Swap in a spare working DMX cable to test for broken wiring.
Step 3: Confirm DMX Address & Channel Mode
Mismatched settings make fixtures ignore your console.
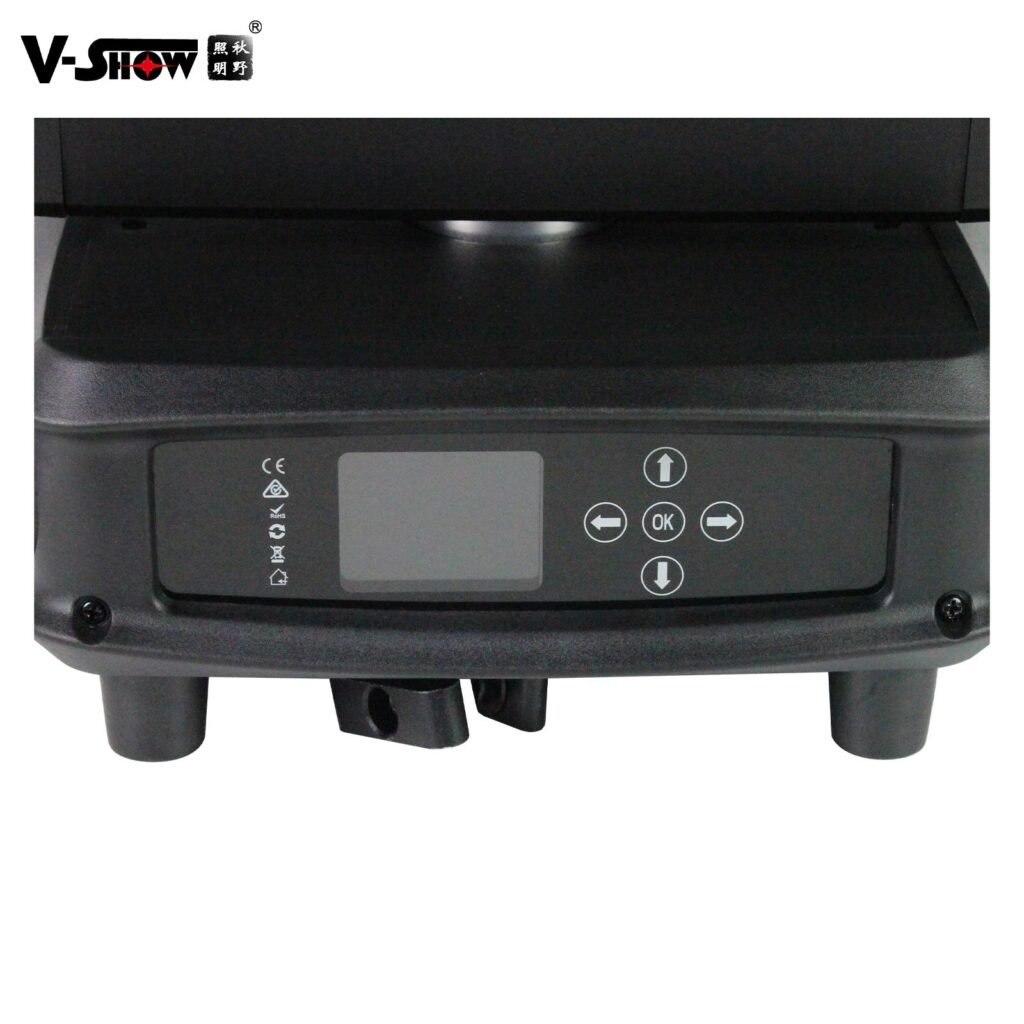
- Match the light's DMX address to the one patched on your controller.
- Ensure the fixture's channel mode matches the console profile.
- Restore factory settings if menus are messed up.
Step 4: Test Console & Signal Splitters
Sometimes the problem is your control gear, not the lights.
- Slide faders on the board and check DMX signal lights on splitters/fixtures.
- Try another DMX output port on the console.
- Restart the controller to clear temporary software bugs.
Step 5: Isolate Broken Fixtures
If everything above checks out, the light itself is faulty.
- Plug a working fixture into the same power and DMX line. If it works, your original fixture is damaged.
- Check for blank screens or dead internal fans to spot circuit damage.
- Set aside faulty units for after-show repair.
Quick On-Site Hack
Test your full lighting rig at least two hours before the show. Keep spare power cords, DMX cables and a DMX tester handy for last-minute emergencies.